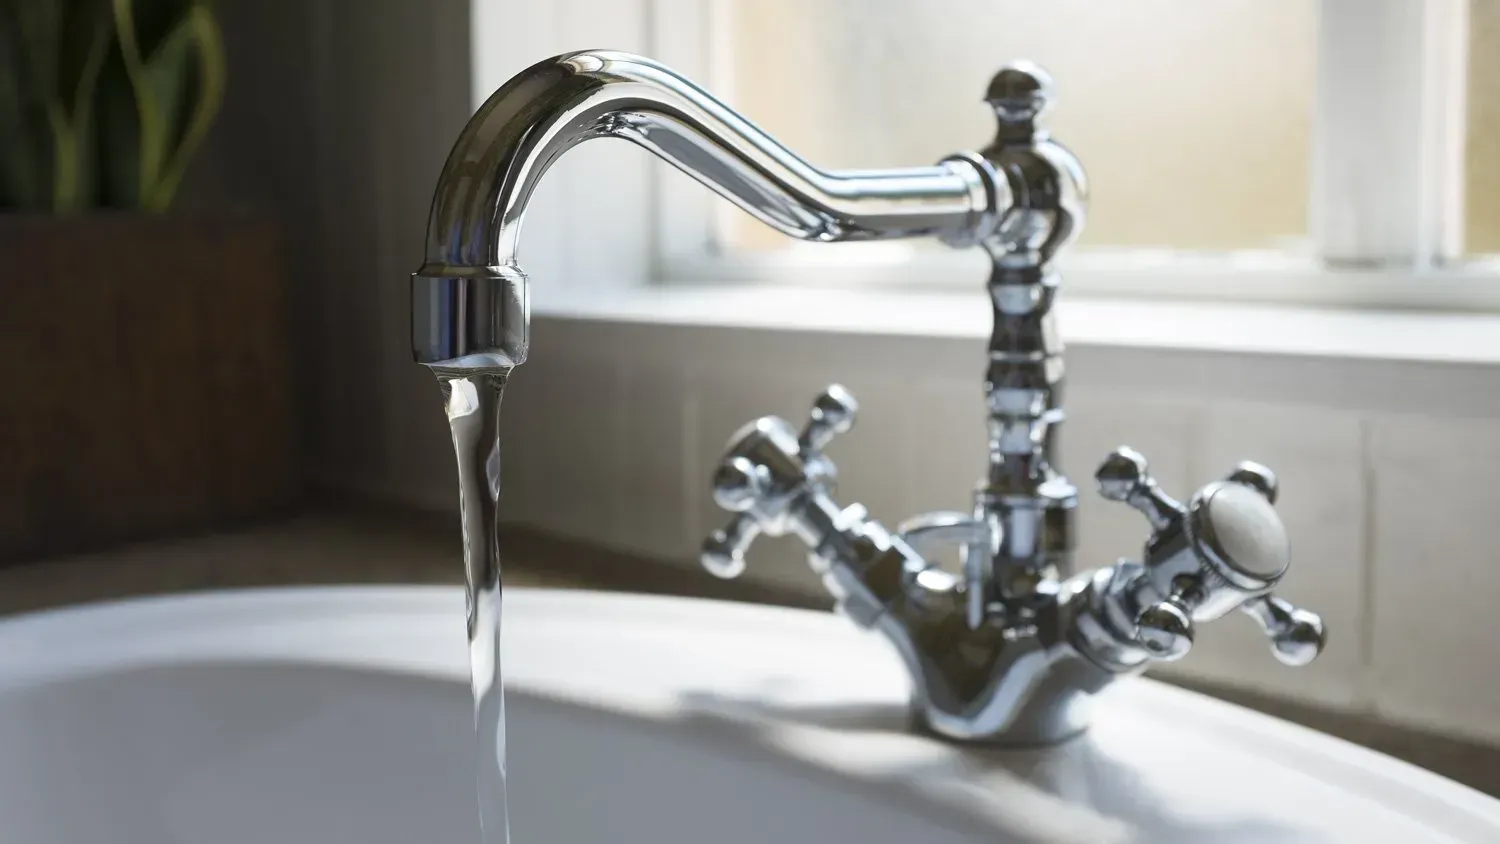
How To Fix a Leaking Mixer Tap
A leaking mixer tap might seem like a small problem, but it can quickly become a costly one. Constant dripping wastes water, increases your water bills, and can lead to water damage inside cabinets, benchtops, and wall cavities. Over time, even a slow leak can cause mould growth, timber rot, and corrosion in plumbing fittings.
Mixer taps are now common in kitchens, bathrooms, laundries, and outdoor areas because they’re convenient and modern. However, they contain internal components that wear out over time. The good news is that some minor leaks can be fixed by homeowners, while others require professional plumbing expertise to prevent further damage.
This guide explains what causes mixer taps to leak, how to identify the source of the leak, what you can safely fix yourself, and when it’s best to call a licensed plumber.
What Is a Mixer Tap?
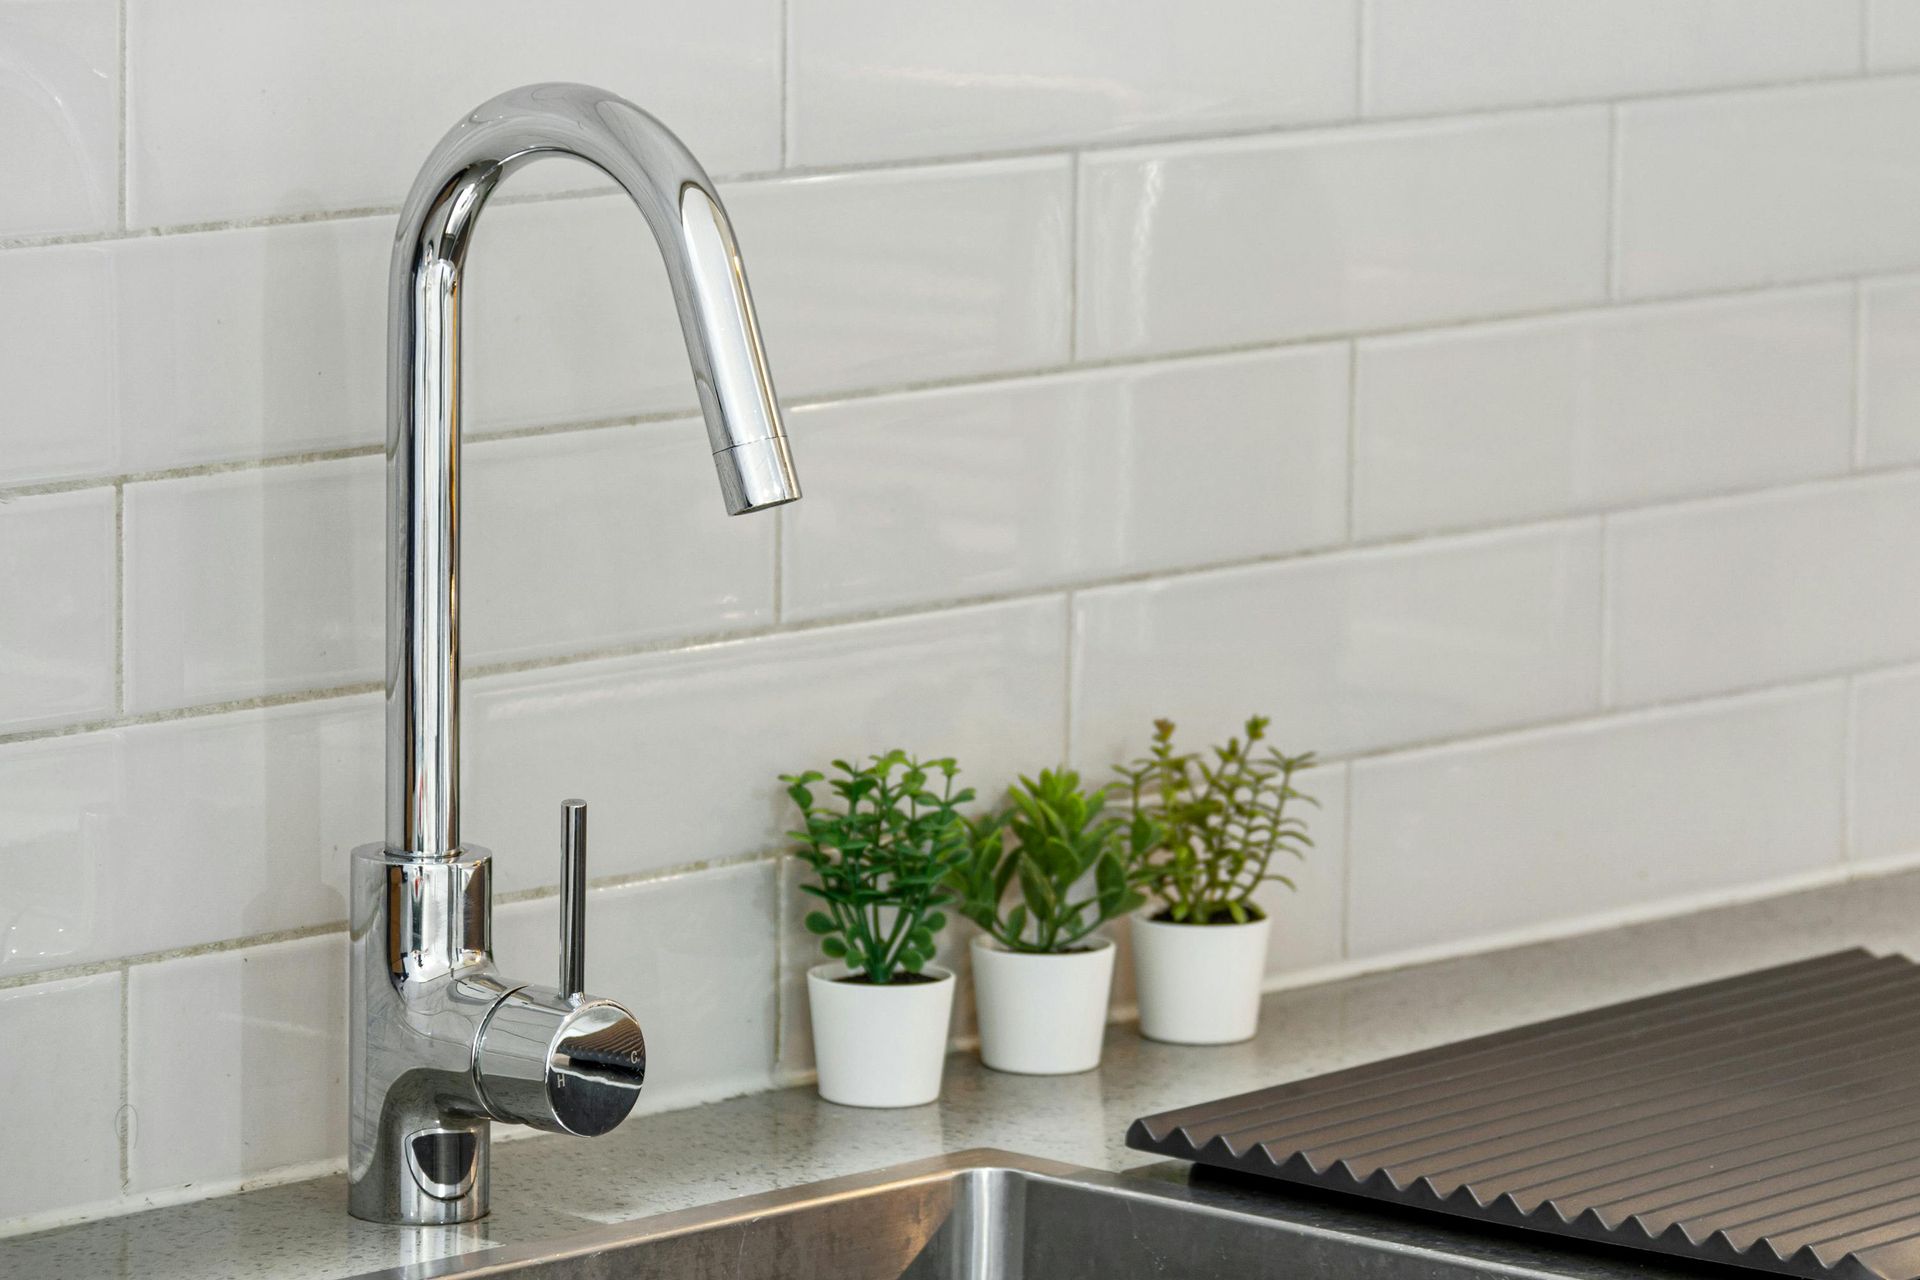
A mixer tap combines hot and cold water through a single spout, allowing you to control both temperature and flow from one handle. Inside the tap is a cartridge or ceramic disc system that regulates water pressure and mixing.
Mixer taps are popular because they:
- Offer precise temperature control
- Reduce the number of tap fittings
- Look cleaner and more modern
- Are easy to operate with one hand
Because mixer taps rely on internal cartridges and seals, wear and tear over time is the most common reason they begin to leak.
Common Causes of a Leaking Mixer Tap
Understanding why your mixer tap is leaking helps determine whether it’s a simple fix or a sign of a deeper plumbing issue.
Worn Cartridge
The cartridge is the main internal component that controls water flow. Over time, the seals inside the cartridge can wear out, allowing water to bypass even when the tap is turned off.
Perished O-Rings
O-rings are rubber seals that prevent water from leaking around moving parts. These dry out and crack with age, causing drips at the base or handle of the tap.
Loose Internal Components
Vibration and regular use can loosen internal parts, allowing small gaps where water can escape.
Sediment and Mineral Build-Up
Hard water and debris can damage ceramic discs and seals, preventing the tap from closing properly.
Damaged Tap Body or Spout
Corrosion or cracks in the tap body can cause external leaks that no internal part replacement will fix.
Signs Your Mixer Tap Needs Repair
Not all leaks are obvious dripping from the spout. Watch for these warning signs:
- Water dripping after the tap is fully turned off
- Water pooling around the base of the tap
- Moisture inside cupboards under the sink
- Reduced water pressure
- Stiff or difficult-to-turn tap handle
- Rust stains or mineral build-up around fittings
Ignoring these signs can lead to damage inside cabinetry, swollen timber, and mould growth.
Can You Fix a Leaking Mixer Tap Yourself?
Some mixer tap leaks can be fixed by homeowners with basic tools and a bit of patience. However, others are better left to a licensed plumber to avoid damaging fittings, voiding warranties, or creating larger leaks.
DIY repairs are usually suitable when:
- The leak is minor
- The tap is relatively new
- Replacement parts are readily available
- You can easily access isolation valves
If your plumbing is older, the leak is severe, or water damage is already visible, professional repairs are strongly recommended.
Tools You’ll Need
Before starting any repair, gather the following tools:
- Adjustable spanner
- Allen key or screwdriver (depending on tap model)
- Replacement cartridge (matched to your tap brand)
- Replacement O-rings
- Plumber’s grease
- Soft cloth or towel
- Bucket or container
- Penetrating lubricant (for stuck fittings)
Always place a cloth over the sink drain to prevent losing small parts.
Step-by-Step: How To Fix a Leaking Mixer Tap
Step 1: Turn Off the Water Supply
Locate the isolation valves under the sink and turn them off. If no isolation valves are fitted, shut off your main water supply.
Step 2: Remove the Handle
Use an Allen key or screwdriver to remove the handle screw. Gently lift the handle off the tap body.
Step 3: Remove the Cover Plate
Most mixer taps have a decorative cover hiding the cartridge. Unscrew or carefully pry it off.
Step 4: Remove the Cartridge
Use a spanner to loosen the cartridge retaining nut. Gently pull the cartridge out.
Step 5: Inspect the Cartridge and O-Rings
Check for worn seals, cracks, or mineral build-up. Clean any debris with a soft cloth.
Step 6: Replace Faulty Components
Install a new cartridge or O-rings that match your tap model exactly. Apply a small amount of plumber’s grease to O-rings.
Step 7: Reassemble the Tap
Reinstall the cartridge, tighten the retaining nut, refit the cover plate, and reattach the handle.
Step 8: Turn the Water Back On
Slowly restore water supply and test the tap for leaks. Check around the base and spout.
Mistakes To Avoid When Fixing a Leaking Mixer Tap
DIY plumbing can cause more harm if done incorrectly. Avoid these common mistakes:
- Overtightening fittings, which can crack tap bodies
- Using incorrect replacement cartridges
- Forcing stuck components without lubricant
- Forgetting to turn off the water
- Mixing parts from different tap brands
- Ignoring small leaks that continue after reassembly
If the leak persists after replacement, the issue may be internal pipework or a damaged tap body.
When To Call a Plumber
Not all mixer tap leaks are simple cartridge issues. Call a plumber if:
- The tap continues to leak after replacing parts
- Water is leaking inside cabinets or walls
- You notice rusted pipes or corroded fittings
- The isolation valves are faulty
- The tap is built into stone or tiled surfaces
- You can’t identify the tap brand or model
Professional plumbers have the tools and experience to diagnose hidden issues before they become costly repairs.
How Much Water Does a Leaking Mixer Tap Waste?
A dripping mixer tap can waste thousands of litres of water each year. Even a slow drip can add up to significant water loss, increasing your water bills and placing unnecessary strain on Australia’s water supply.
Fixing small leaks promptly:
- Reduces water waste
- Lowers water bills
- Prevents cabinet and benchtop damage
- Reduces mould and mildew risks
- Extends the lifespan of your tapware
How Long Do Mixer Taps Last?
Most quality mixer taps last between 10 to 20 years, depending on:
- Water quality
- Frequency of use
- Installation quality
- Maintenance habits
Replacing cartridges and seals early can extend the lifespan of your mixer tap and prevent full replacement.
How To Prevent Future Mixer Tap Leaks
Preventative maintenance helps avoid recurring leaks:
- Clean aerators regularly
- Avoid forcing stiff tap handles
- Fix minor drips early
- Install water pressure limiting valves
- Have your plumbing inspected periodically
- Use licensed plumbers for installations
Regular checks can catch worn parts before they fail completely.
Should You Repair or Replace a Leaking Mixer Tap?
Sometimes replacing the entire tap is more cost-effective than repeated repairs. Consider replacement if:
- The tap is over 15 years old
- Replacement parts are no longer available
- The tap body is corroded
- Leaks keep returning
- The design no longer suits your space
Modern mixer taps are more water-efficient and often come with better warranties.
Final Thoughts: Fix Small Leaks Before They Become Big Problems
A leaking mixer tap might seem harmless, but it can lead to water damage, mould, and rising water bills if ignored. Minor leaks caused by worn cartridges or seals can often be repaired with basic tools, but ongoing leaks or internal damage should always be handled by a licensed plumber.
If your mixer tap continues to leak after repairs, or you notice water damage under sinks or inside walls, it’s time to call a professional. Prompt repairs protect your home, save water, and prevent costly plumbing emergencies down the track.
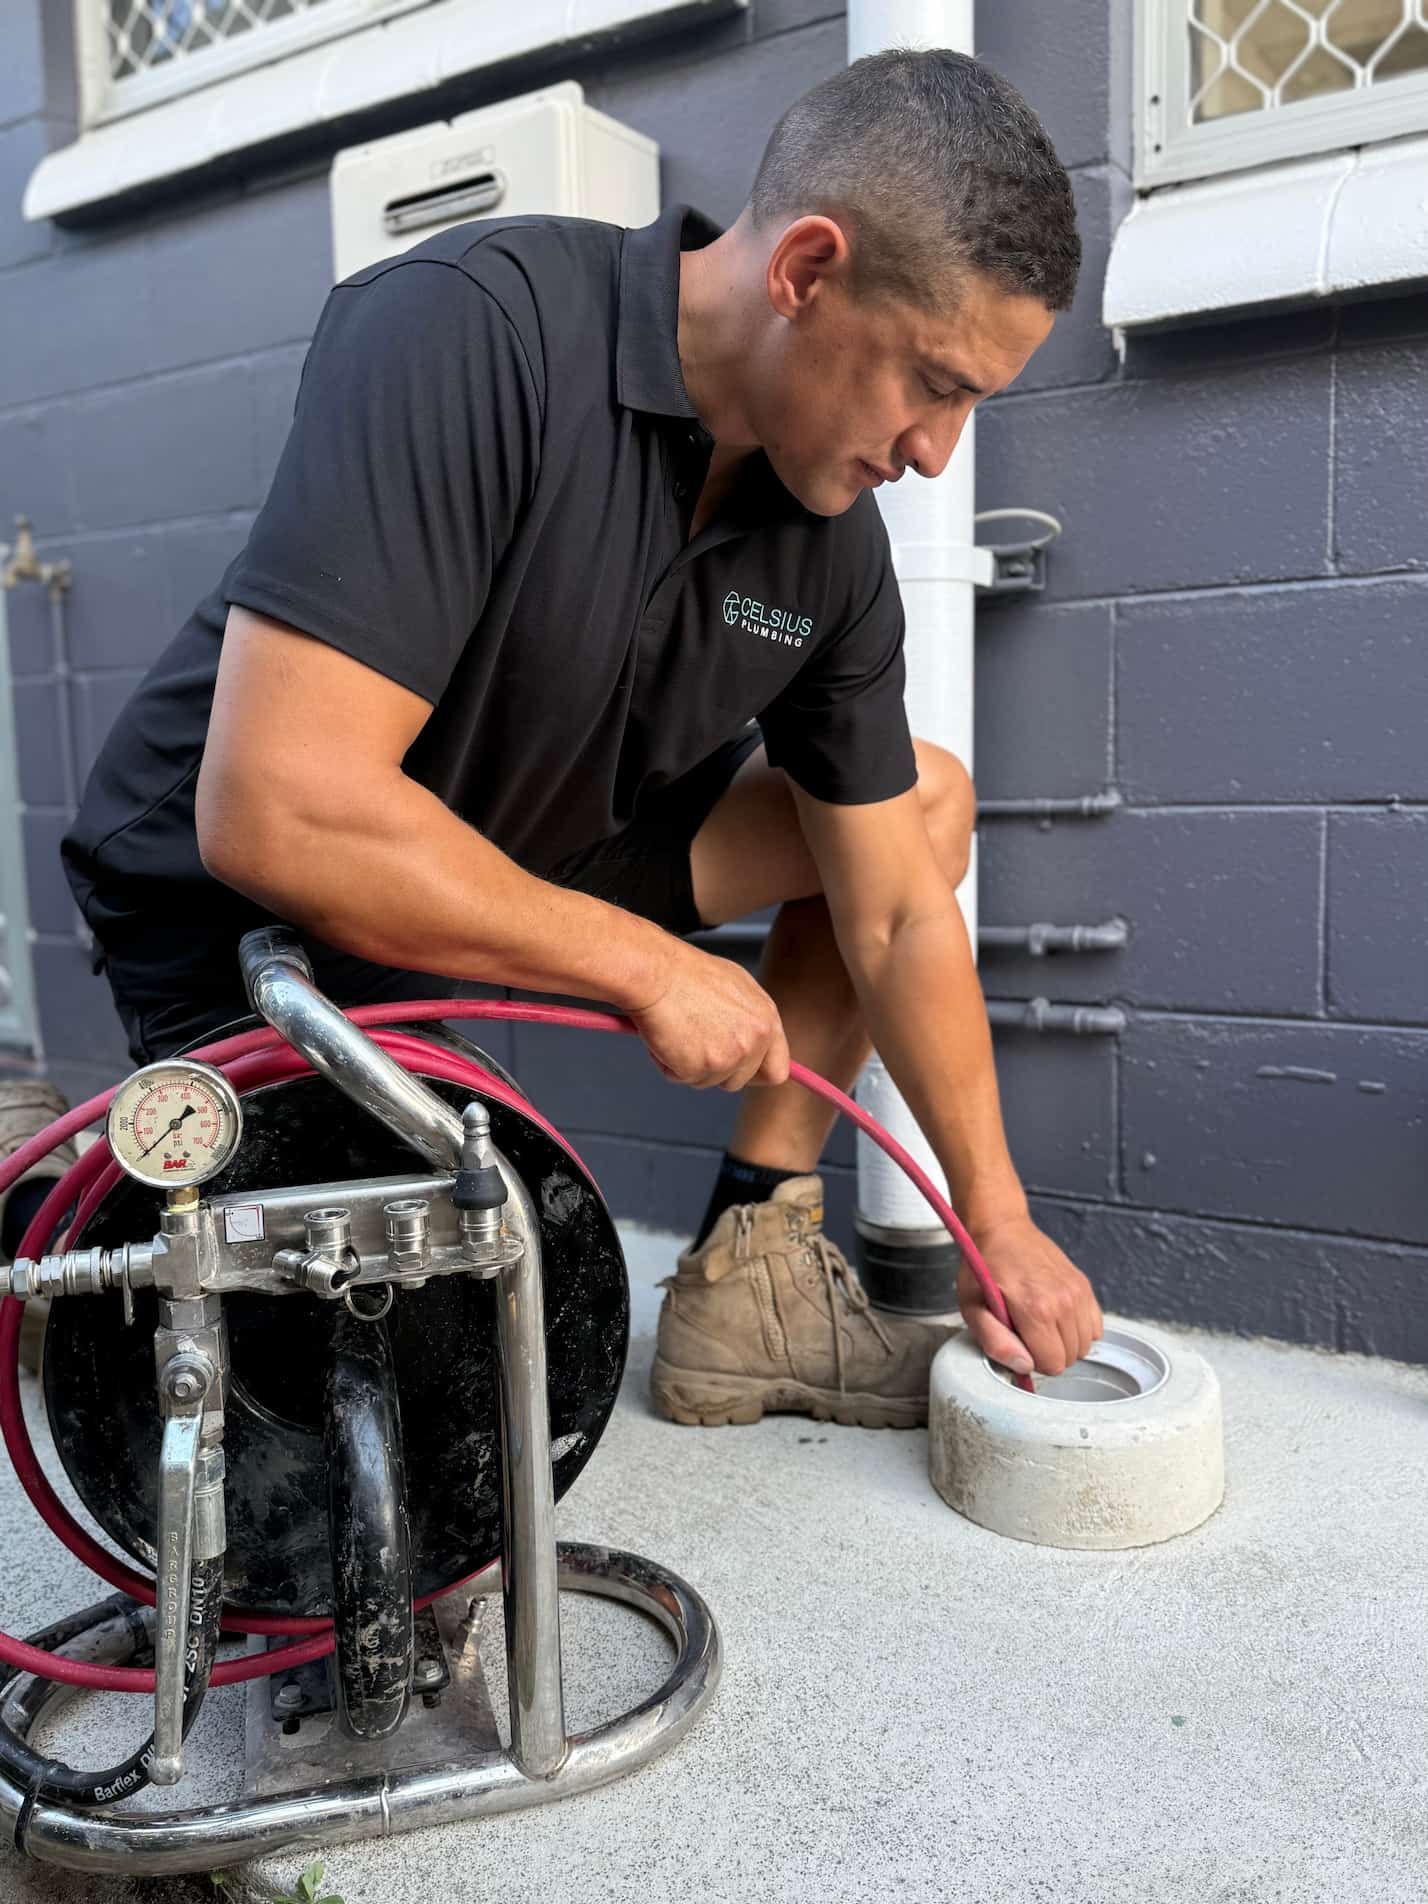
Written by Justin from Celsius Plumbing
Meet Justin, the owner of Celsius Plumbing. With over 15 years of industry experience, Justin combines technical expertise with a commitment to clear communication and reliable service.