How To Replace A Toilet
A toilet is one of the hardest-working fixtures in any home. Most people don't think much about it until it starts leaking, constantly running, rocking from side to side, or simply stops flushing properly. While replacing a toilet may appear straightforward, there are several components involved, and mistakes during installation can lead to leaks, water damage, unpleasant odours, and costly repairs.
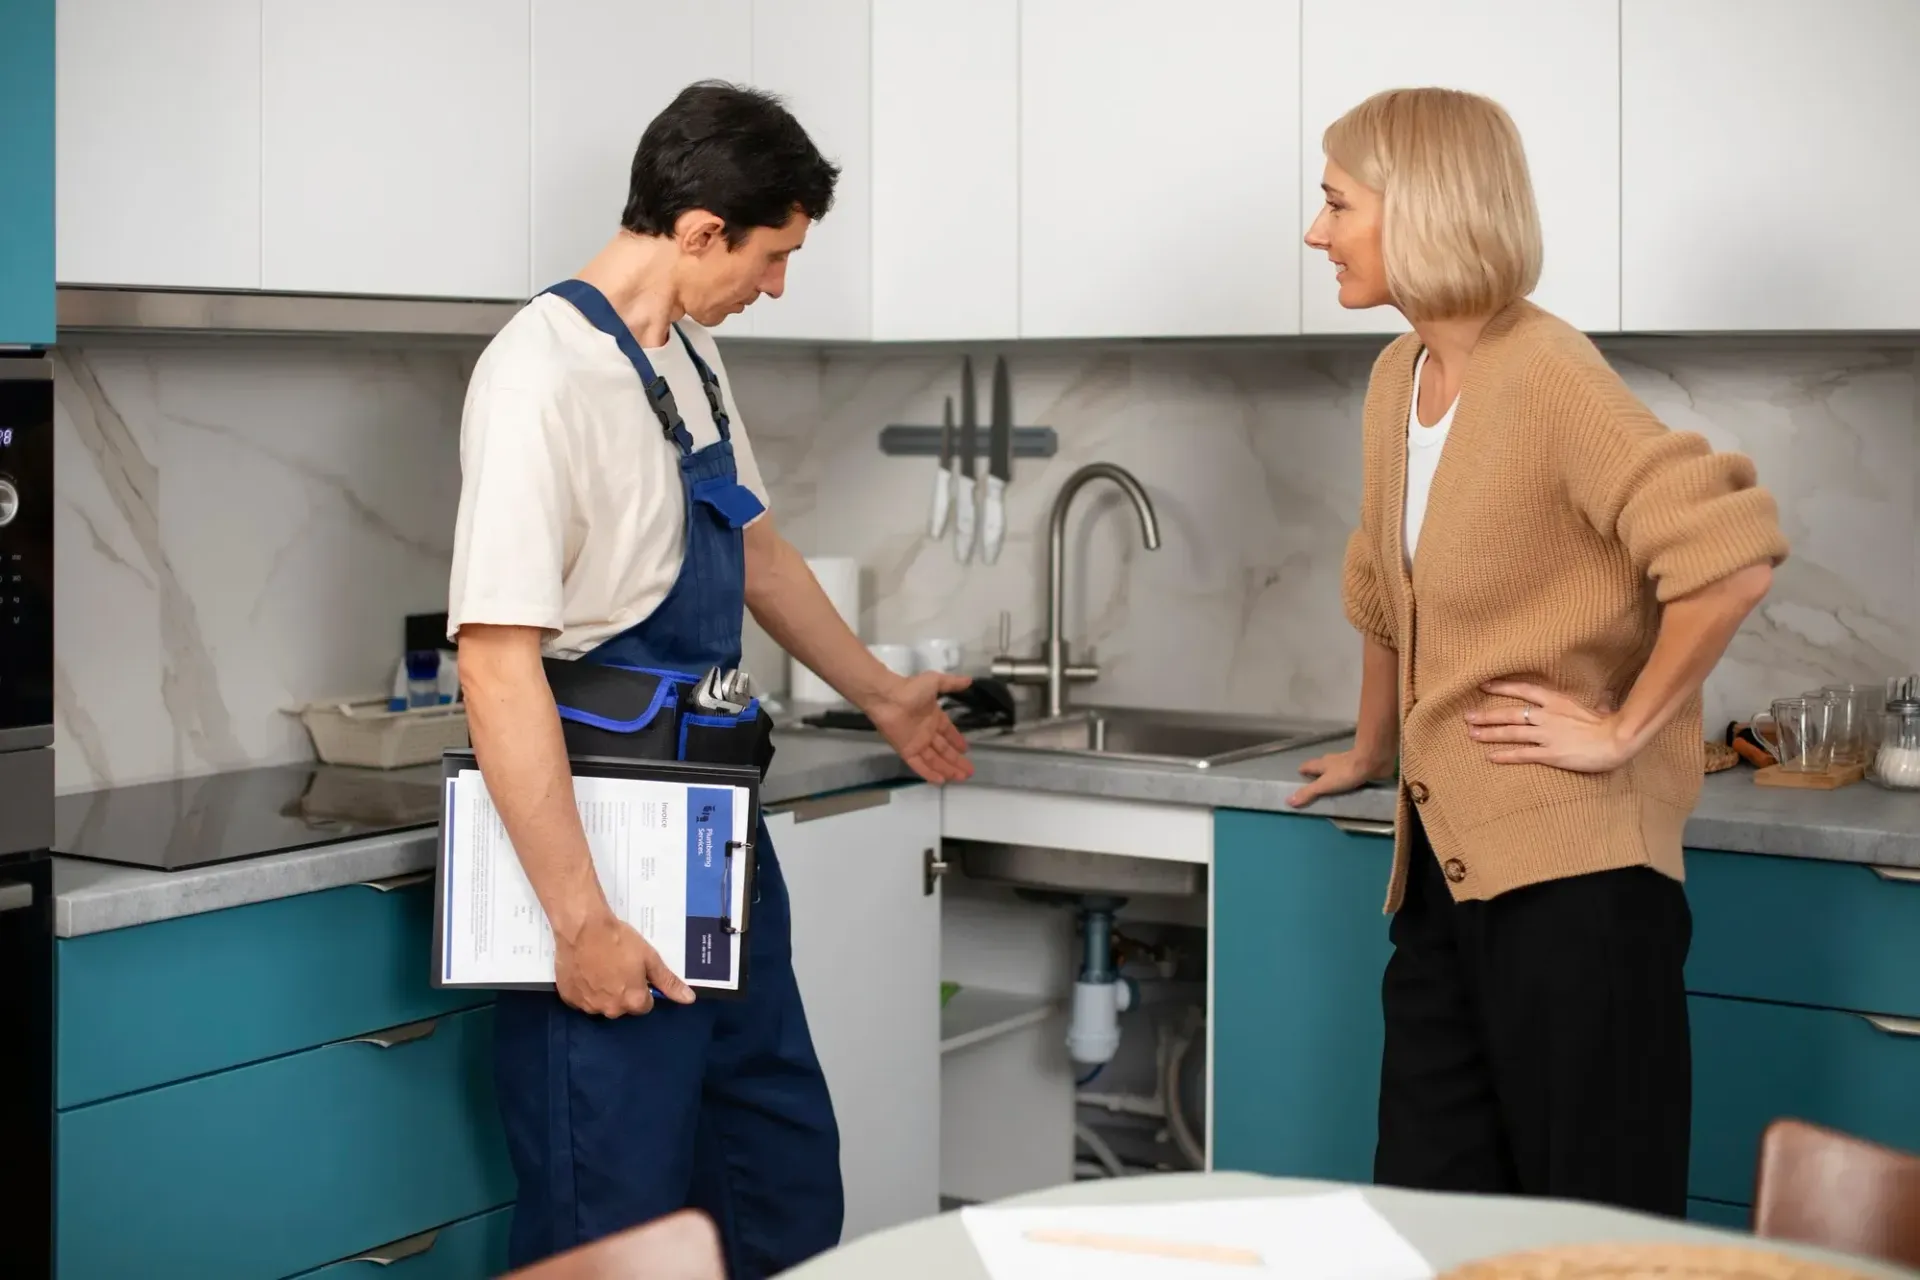
As plumbers on the Sunshine Coast, we regularly replace toilets in homes ranging from older beachside properties in Caloundra and Mooloolaba to modern homes in Birtinya, Aura, and Sippy Downs. One thing we've learned is that no two toilet replacements are exactly the same. Hidden plumbing issues, ageing pipework, and incorrect previous installations can quickly turn a simple replacement into a bigger project.
In this guide, we'll explain how toilets work, the different parts involved, how to replace a toilet correctly, and some expert insights we've gained from years of replacing toilets throughout Sunshine Coast homes.
Signs It's Time To Replace Your Toilet
Before diving into the replacement process, it's important to know when a replacement makes more sense than a repair.
Common signs include:
- Cracks in the porcelain bowl or cistern
- Frequent blockages
- Constant running water
- Leaks around the base
- Excessive water usage
- Worn or damaged flushing components
- A toilet that rocks or moves when used
- Staining that won't come clean
- An outdated design that no longer suits your bathroom
Many older toilets on the Sunshine Coast can use up to twice as much water as modern dual-flush models. Replacing an older unit can significantly reduce household water consumption.
Understanding The Main Parts Of A Toilet
To understand the replacement process, it helps to know the key components that make up a toilet.
The Toilet Bowl
The bowl is the lower section of the toilet that sits on the floor. It contains an internal trapway that directs waste into the sewer pipe.
When replacing a toilet, the bowl must be securely fixed to the floor and aligned correctly with the waste outlet.
The Cistern
The cistern is the tank that stores water for flushing.
Modern cisterns contain several important components including:
- Inlet valve
- Outlet valve
- Flush button or lever
- Overflow mechanism
- Internal seals
In many older Sunshine Coast homes, we see cisterns that have deteriorated internally due to years of exposure to mineral deposits and hard water.
The Pan Connector
The pan connector joins the toilet outlet to the home's sewer pipe.
There are different types of pan connectors available, including:
- Straight connectors
- Offset connectors
- Flexible connectors
Choosing the correct connector is essential for a leak-free installation.
The Water Inlet Valve
This valve controls the flow of water into the cistern after flushing.
Faulty inlet valves are one of the most common causes of continuously running toilets.
The Wax Ring Or Rubber Pan Seal
This seal sits between the toilet and the waste pipe.
Its job is to create a watertight and airtight connection.
If installed incorrectly, it can lead to leaks and sewer odours entering the bathroom.
Toilet Mounting Bolts
These secure the toilet bowl to the floor.
Over time, bolts can corrode, particularly in coastal Sunshine Coast suburbs where salt air accelerates metal deterioration.
Tools Required To Replace A Toilet
Replacing a toilet typically requires:
- Adjustable spanner
- Screwdrivers
- Utility knife
- Bucket
- Towels
- Spirit level
- Drill (if new fixing holes are required)
- Silicone sealant
- Replacement pan seal
- New toilet suite
Depending on the age of the property, additional plumbing tools may also be required.
Step 1: Turn Off The Water Supply
The first step is shutting off the water supply.
Most toilets have an isolation valve located behind the cistern. Turn this valve clockwise until it stops.
Flush the toilet several times to empty as much water as possible from both the cistern and bowl.
Use a sponge or towel to remove any remaining water.
This step helps prevent spills when disconnecting the old toilet.
Step 2: Disconnect The Water Supply
Once the toilet is empty, disconnect the flexible water hose from the cistern.
Keep a bucket nearby, as some residual water may still be present in the line.
Inspect the hose carefully.
At Celsius Plumbing, we often recommend replacing older flexible hoses during a toilet replacement. These hoses can deteriorate over time and are a common source of household water leaks.
Step 3: Remove The Existing Toilet
Next, remove the fixing bolts securing the toilet to the floor.
Depending on the age of the installation, these bolts may be:
- Rusted
- Corroded
- Covered by plastic caps
- Hidden under silicone
Carefully cut any silicone around the base before lifting the toilet.
Older toilets can be surprisingly heavy, so assistance may be required.
Once removed, inspect the floor beneath the toilet.
Expert Insight: What We Often Find Under Old Toilets
One of the biggest surprises for homeowners is what lies beneath the old toilet.
In older Sunshine Coast homes, we regularly discover:
- Rotten timber flooring
- Water damage
- Broken pan collars
- Cracked waste pipes
- Termite damage
- Poor previous repairs
This is one reason why professional installation can be worthwhile. Hidden issues often only become visible once the old toilet is removed.
Step 4: Remove The Old Pan Seal
The existing pan seal or wax ring should always be replaced.
Never attempt to reuse an old seal.
Carefully remove any remaining material and clean the waste pipe opening thoroughly.
A clean surface ensures the new seal can create a proper connection.
Step 5: Check The Waste Pipe Alignment
Before installing the new toilet, verify that the waste outlet aligns correctly.
Modern toilets often have different outlet positions compared to older models.
This is where pan connector selection becomes critical.
In some cases, an offset connector may be required to match the existing pipe location.
Incorrect alignment can lead to:
- Leaks
- Poor flushing performance
- Ongoing blockages
Step 6: Install The New Pan Connector
Fit the new pan connector according to the manufacturer's instructions.
Ensure all seals are properly seated and that the connector is fully inserted.
At Celsius Plumbing, we frequently see DIY installations where the connector hasn't been fitted completely, resulting in slow leaks that remain hidden for months.
Step 7: Position The New Toilet
Carefully lower the new toilet into place.
Ensure:
- The outlet aligns correctly
- The pan seal remains seated
- The toilet sits level
- The mounting holes align properly
Take your time during this stage.
Rushing the positioning process is one of the most common causes of future leaks.
Step 8: Secure The Toilet To The Floor
Once positioned correctly, secure the toilet using the supplied fixing bolts.
Avoid overtightening.
Porcelain can crack under excessive pressure.
Use a spirit level to confirm the toilet sits evenly on the floor.
If the floor is uneven, shims may be required to achieve a stable installation.
Step 9: Connect The Water Supply
Reconnect the flexible water hose to the cistern.
Turn the isolation valve back on slowly and allow the cistern to fill.
Inspect all connections carefully for leaks.
Pay particular attention to:
- The inlet connection
- The pan connector
- The base of the toilet
Even a small drip can become a significant issue over time.
Step 10: Test The Flush
Once the cistern has filled, test the toilet several times.
Look for:
- Smooth flushing action
- Proper bowl refill
- No leaks
- No rocking or movement
- Correct water level
A properly installed toilet should flush efficiently without any unusual noises or movement.
Why Toilet Replacements Can Be More Complicated Than Expected
Many online tutorials make toilet replacement appear simple.
However, as plumbers working across the Sunshine Coast, we regularly encounter challenges such as:
Non-Standard Waste Locations
Older homes often have waste pipes positioned differently from modern toilet designs.
Damaged Flooring
Years of hidden leaks can weaken flooring beneath the toilet.
Corroded Plumbing Components
Older valves, bolts and connectors frequently require replacement.
Tight Bathroom Spaces
Compact bathrooms can make installation more difficult and time-consuming.
Water Efficiency Compliance
New installations should comply with current Australian plumbing standards and water efficiency requirements.
Choosing The Right Replacement Toilet
When selecting a new toilet, consider:
Water Efficiency
Look for high WELS ratings to reduce water consumption.
Comfort Height
Some models sit slightly higher, making them easier for elderly users or those with mobility issues.
Rimless Designs
Rimless toilets are becoming increasingly popular due to improved hygiene and easier cleaning.
Soft-Close Seats
These reduce noise and minimise wear over time.
Easy Cleaning Features
Modern designs often eliminate hard-to-reach areas where dirt and bacteria accumulate.
Sunshine Coast Considerations For Toilet Replacements
The coastal environment can influence plumbing fixtures more than many homeowners realise.
Salt air exposure can accelerate corrosion of metal components, particularly in suburbs close to the coastline such as:
- Caloundra
- Golden Beach
- Kings Beach
- Mooloolaba
- Marcoola
Using high-quality fittings and corrosion-resistant components can help maximise the lifespan of your new toilet installation.
When Should You Call A Professional Plumber?
While some experienced DIY enthusiasts may attempt toilet replacement themselves, professional installation is recommended if:
- The toilet is leaking into the floor
- The waste pipe requires modification
- You notice water damage
- The floor feels soft
- The plumbing is outdated
- You want the installation completed to Australian standards
A professional plumber can also identify hidden issues before they become expensive repairs.
Need Help Replacing A Toilet On The Sunshine Coast?
Replacing a toilet involves much more than simply swapping one unit for another. Proper installation requires careful attention to seals, waste connections, water supply fittings, floor stability, and compliance with Australian plumbing standards.
At Celsius Plumbing, we replace toilets throughout the Sunshine Coast and can help you choose the right model for your home, remove your old unit, identify any hidden plumbing issues, and ensure your new toilet is installed correctly the first time.
Whether you're upgrading an outdated toilet, dealing with leaks, or renovating your bathroom, our experienced Sunshine Coast plumbers are here to help.
Written by Justin from Celsius Plumbing
Meet Justin, the owner of Celsius Plumbing. With over 15 years of industry experience, Justin combines technical expertise with a commitment to clear communication and reliable service.