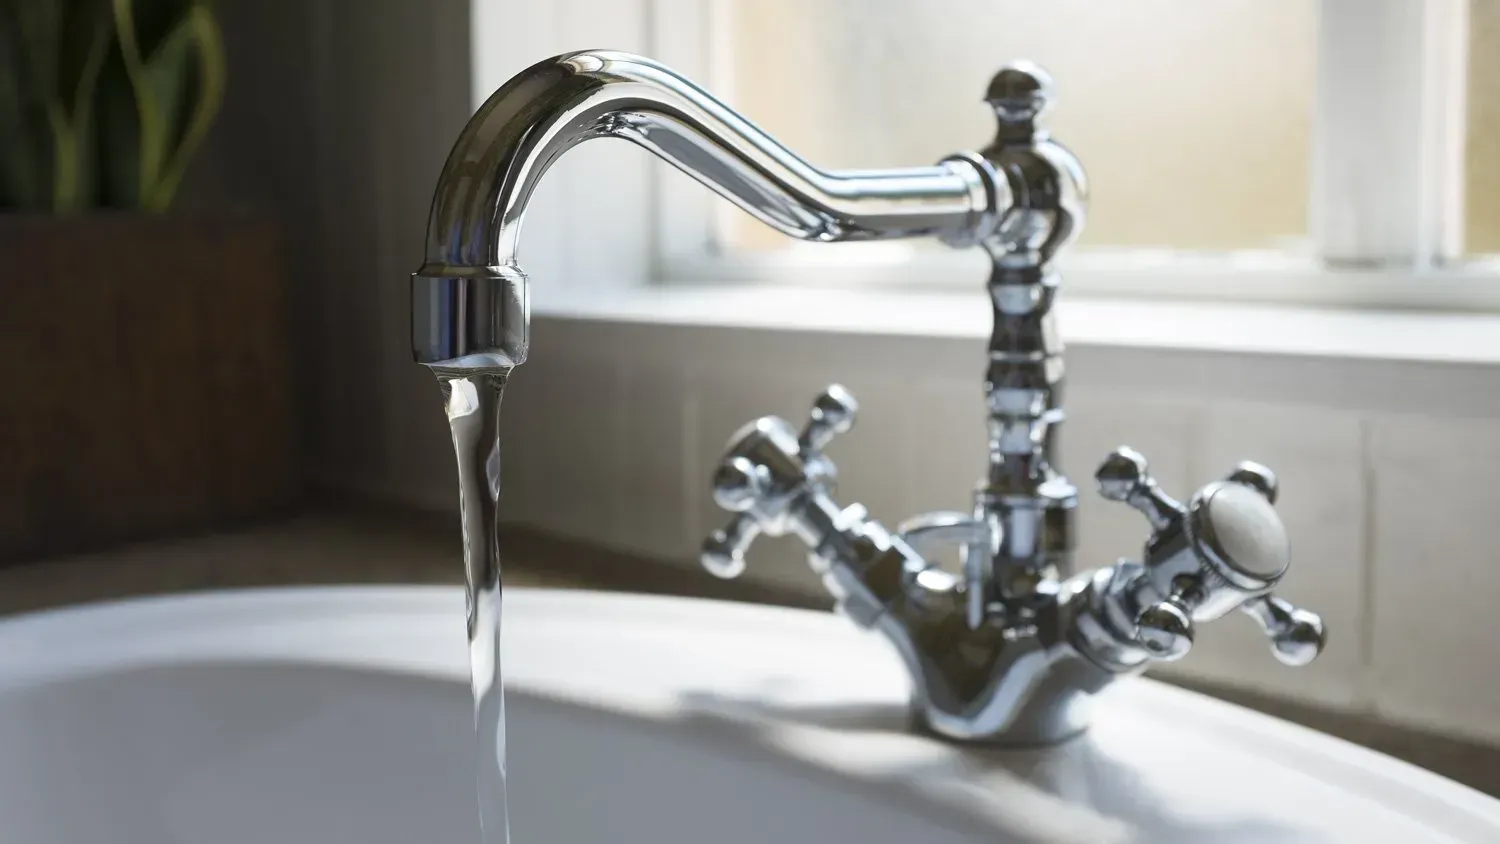
How To Replace A Kitchen Tap
A leaking, outdated, or damaged kitchen tap can quickly become frustrating in any home. Whether your tap is dripping constantly, has low water pressure, or simply looks worn out, replacing it can instantly improve the appearance and functionality of your kitchen.
While some homeowners attempt DIY tap replacements, it’s important to understand the process properly to avoid leaks, water damage, or plumbing issues. In this guide, we’ll explain how to replace a kitchen tap, the tools involved, common problems you may encounter, and when it’s best to call a licensed Sunshine Coast plumber.
Signs Your Kitchen Tap Needs Replacing
Kitchen taps experience daily wear and tear, so it’s normal for them to eventually need replacing.
Some common signs include:
- Constant dripping
- Rust or corrosion
- Loose handles or spout
- Reduced water pressure
- Water leaks underneath the sink
- Cracked or damaged fittings
- Outdated appearance
- Difficulty turning taps on or off
In many cases, replacing the entire tap is more cost-effective than continuing to repair an old unit.
Choosing The Right Kitchen Tap
Before removing your old tap, you’ll need to choose a suitable replacement.
There are many kitchen tap styles available in Australia, including:
- Mixer taps
- Pull-out spray taps
- Gooseneck taps
- Standard pillar taps
- Filtered water taps
- Matte black finishes
- Brushed nickel finishes
- Chrome kitchen taps
When selecting a new kitchen tap, consider:
- Sink compatibility
- Existing tap hole configuration
- Water pressure requirements
- Tap height and reach
- Style and finish
- Water efficiency rating
Many Australian homes now choose mixer taps because they provide better convenience and temperature control.
Tools You May Need
Replacing a kitchen tap usually requires a few basic tools.
These may include:
- Adjustable spanner
- Basin wrench
- Screwdrivers
- Bucket or towel
- Plumber’s tape
- Torch or work light
- Flexible water hoses
- Cleaning cloths
The space underneath kitchen sinks can often be tight and awkward to access, which is one reason many homeowners choose professional installation.
Step 1: Turn Off The Water Supply
Before removing the old kitchen tap, the water supply must be turned off.
Most kitchen sinks have isolation valves underneath the sink that control the hot and cold water supply.
Once the water is turned off:
- Turn the kitchen tap on
- Release any remaining pressure
- Drain excess water into the sink
It’s also a good idea to place a towel or bucket underneath the plumbing connections to catch any leftover water.
Step 2: Disconnect The Water Hoses
The next step is disconnecting the flexible water hoses connected to the tap.
Using an adjustable spanner:
- Loosen the hot and cold water connections
- Carefully disconnect the hoses
- Check for any corrosion or damaged fittings
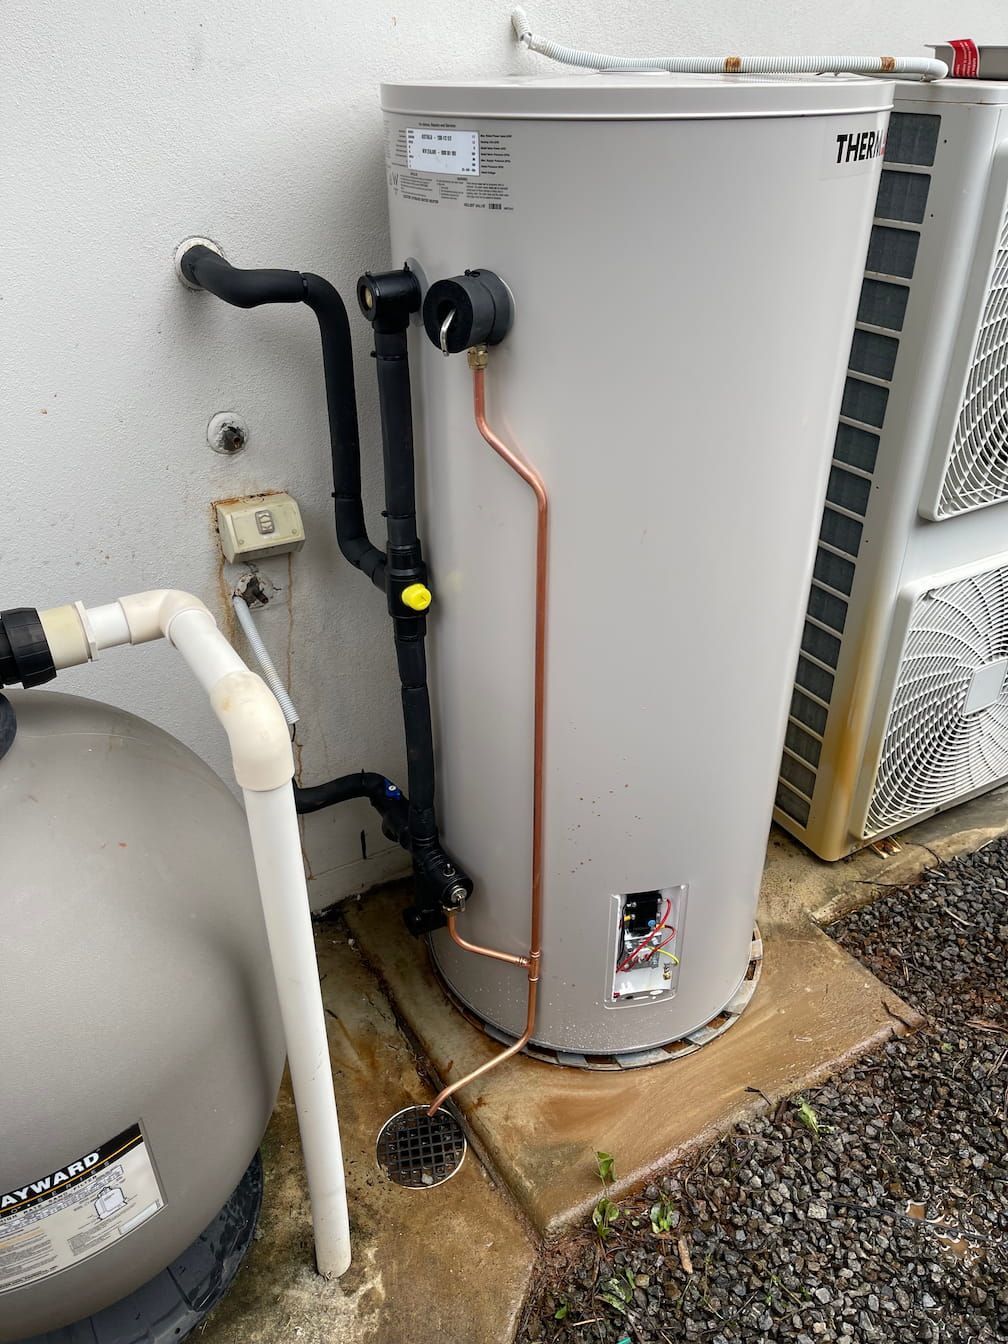
Older plumbing fittings can sometimes become seized or difficult to remove, especially in older Australian homes.
Step 3: Remove The Old Kitchen Tap
Most kitchen taps are secured underneath the sink with mounting nuts or brackets.
This part of the job can be difficult because access underneath the sink is often limited.
To remove the old tap:
- Locate the mounting hardware
- Loosen the retaining nut
- Remove brackets or washers
- Lift the old tap out from above the sink
Once removed, clean the area thoroughly to remove old grime, silicone, or mineral build-up before installing the new tap.
Step 4: Install The New Kitchen Tap
The installation process will vary depending on the type of tap you choose.
Generally, the process involves:
- Positioning the new tap into the sink hole
- Feeding hoses through the opening
- Securing the tap underneath with mounting hardware
- Aligning the tap correctly before tightening
It’s important not to overtighten fittings, as this can damage the sink or tap components.
Step 5: Connect The Water Supply
Once the tap is secured in place, reconnect the hot and cold water hoses.
Make sure:
- Connections are tightened correctly
- Hoses are not twisted or kinked
- Rubber seals are seated properly
Some installations may require plumber’s tape to help create a watertight seal.
Step 6: Turn The Water Back On
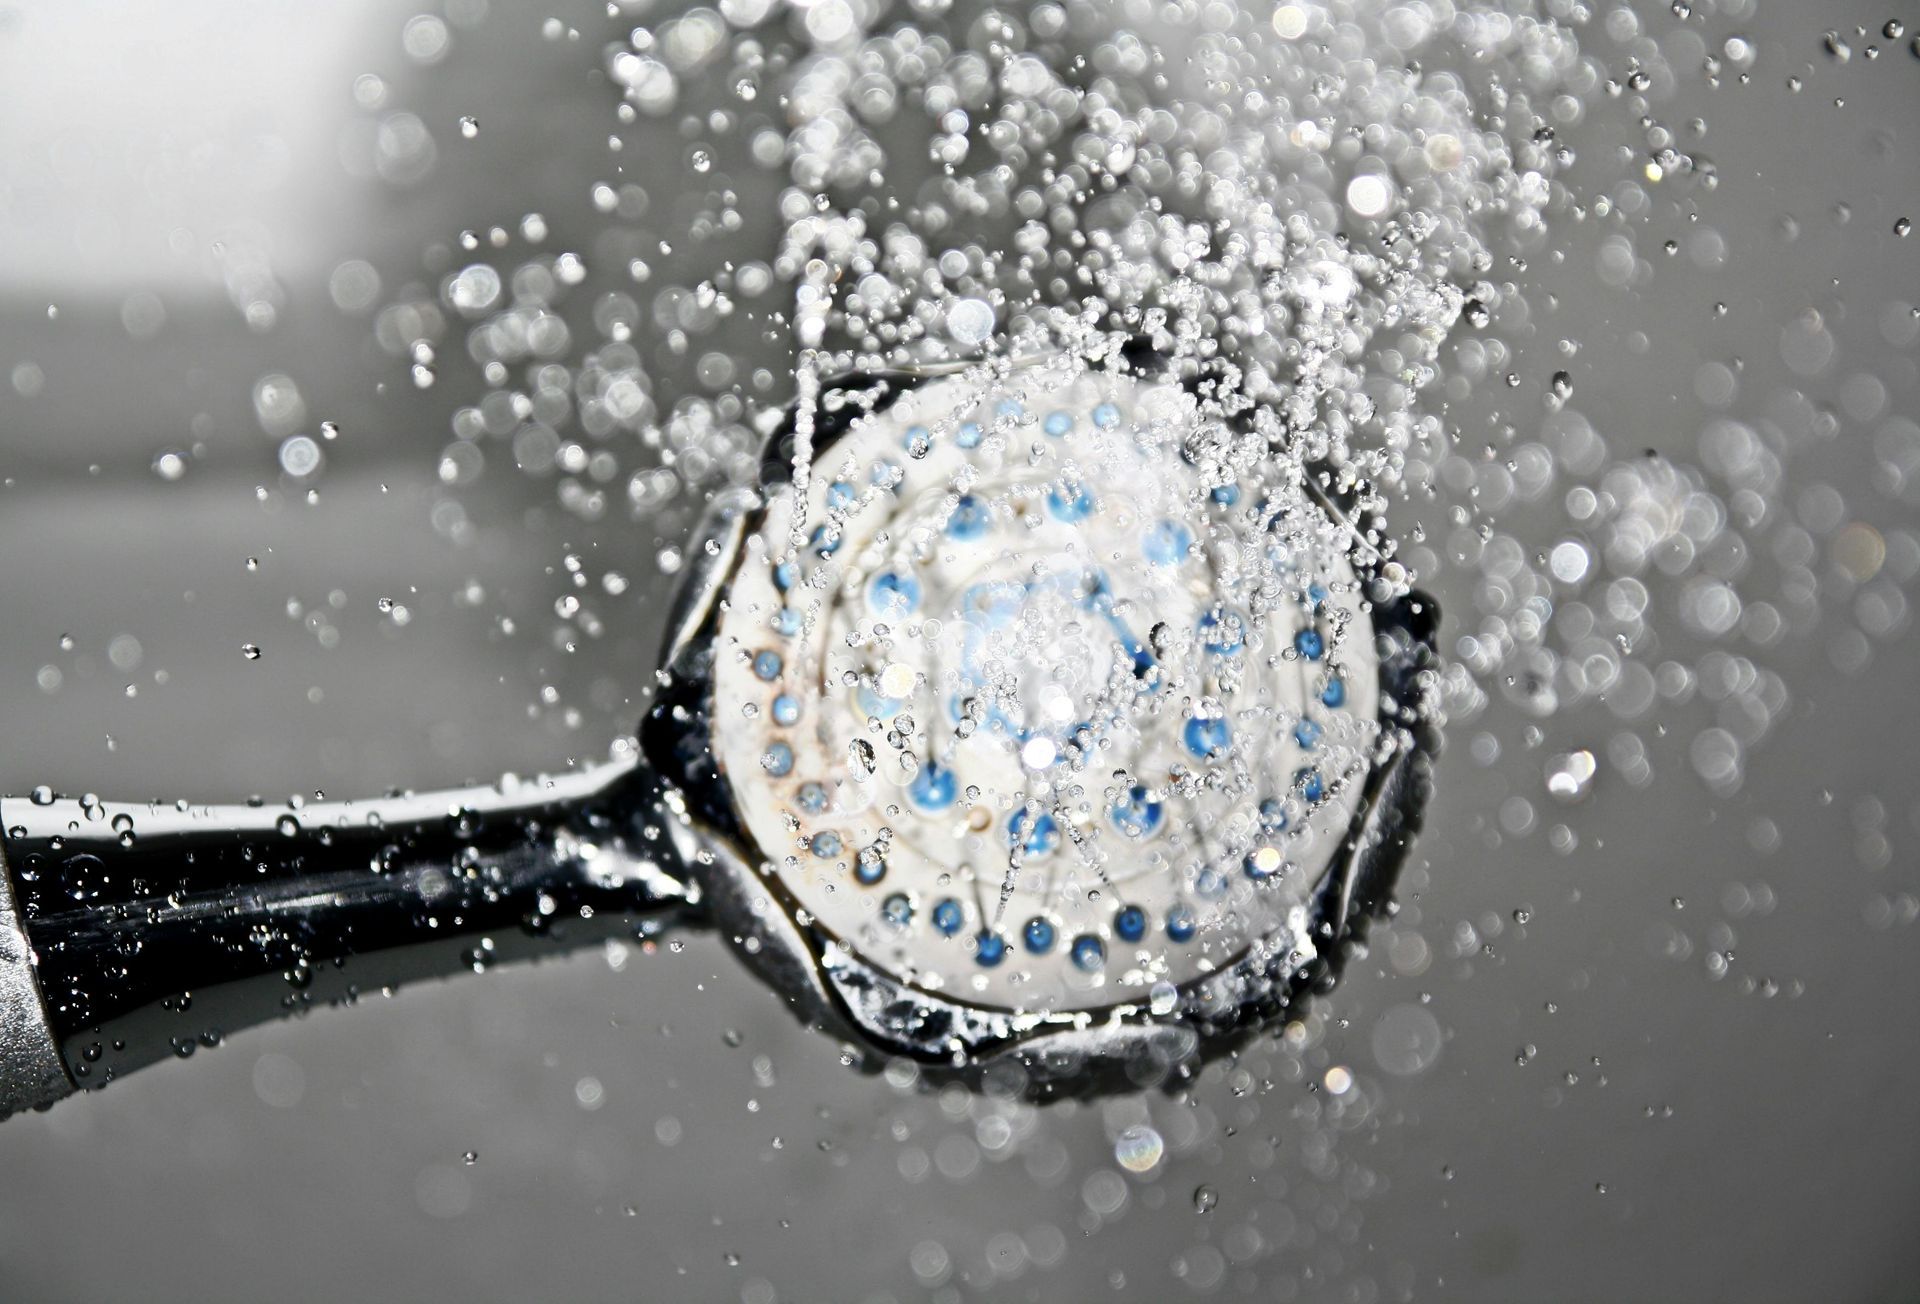
Slowly turn the water supply back on and test the new kitchen tap.
Check for:
- Leaks underneath the sink
- Dripping connections
- Proper hot and cold water flow
- Consistent water pressure
Run the tap for several minutes to ensure everything is functioning correctly.
Common Problems When Replacing Kitchen Taps
While replacing a kitchen tap may appear straightforward, several issues can arise during installation.
Tight Access Under The Sink
One of the biggest challenges is limited access beneath the kitchen sink.
Working around pipes, cupboards, and plumbing connections can make installation difficult without the right tools.
Corroded Fittings
Older Australian homes often have corroded plumbing fittings that can become stuck or damaged during removal.
Water Leaks
Incorrectly installed fittings or loose connections can cause leaks underneath the sink, potentially leading to water damage inside cabinetry.
Incorrect Tap Compatibility
Not all taps fit every sink configuration. Some sinks have:
- One tap hole
- Two tap holes
- Three tap holes
Choosing the wrong tap can create installation problems.
Water Pressure Issues
Certain kitchen taps require minimum water pressure levels to function correctly, particularly pull-out spray taps and modern mixer taps.
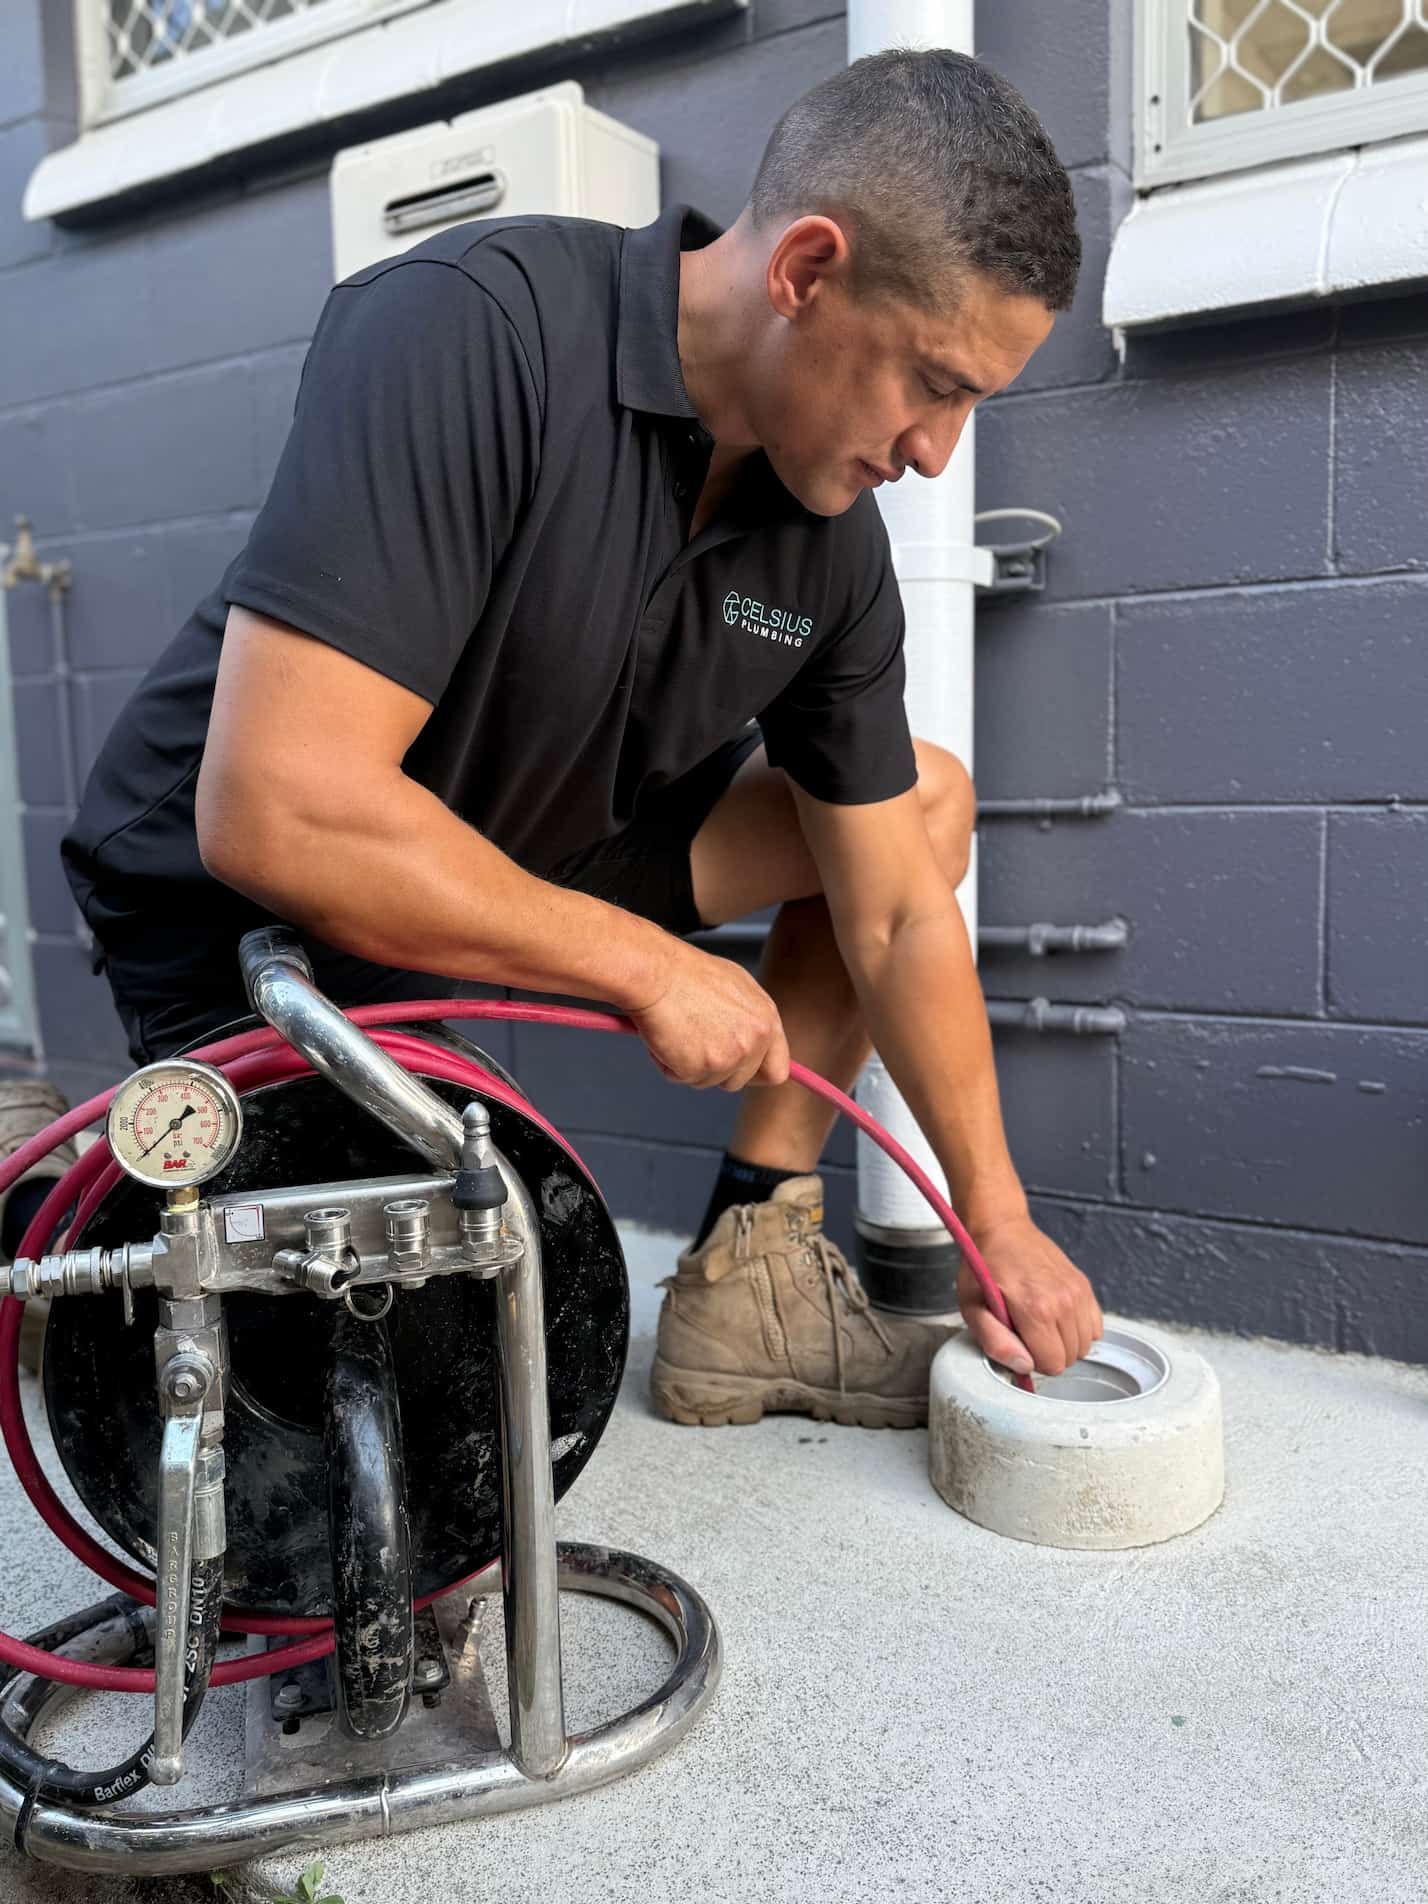
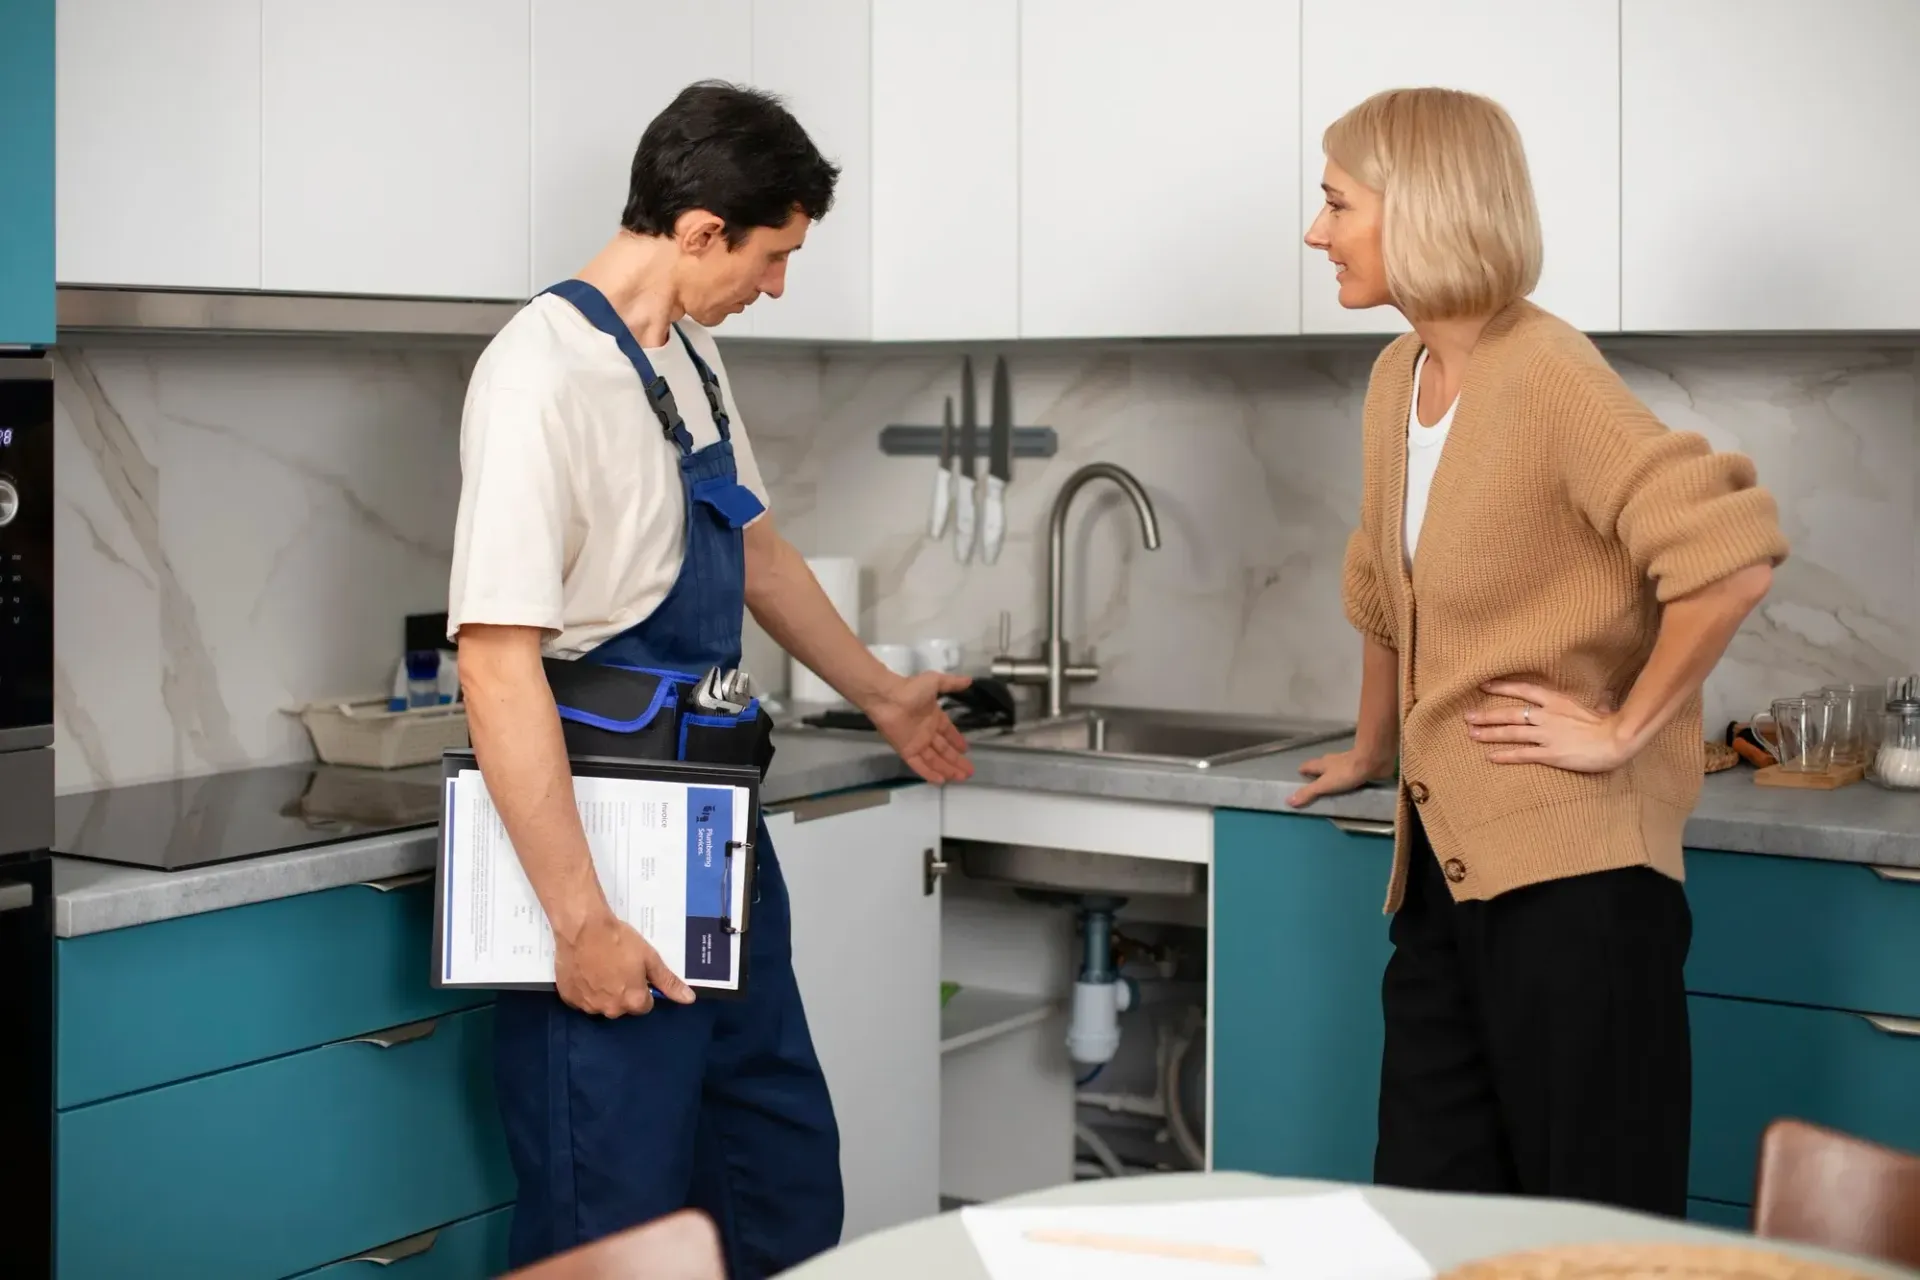
Should You DIY Or Hire A Plumber?
Some homeowners feel confident replacing a kitchen tap themselves, especially if the plumbing is modern and accessible.
However, hiring a licensed Sunshine Coast plumber can save time and help avoid costly mistakes.
A professional plumber can:
- Ensure proper installation
- Prevent leaks
- Check water pressure compatibility
- Install water filters if required
- Replace damaged valves or hoses
- Ensure compliance with Australian plumbing standards
Professional installation is especially recommended if:
- The plumbing is old
- There are existing leaks
- The tap requires modifications
- You’re installing a filtered water tap
- The sink area is difficult to access
Upgrading Your Kitchen Tap
Replacing a kitchen tap is also a great opportunity to upgrade your kitchen’s functionality.
Popular upgrades include:
Pull-Out Spray Taps
These taps provide added flexibility for rinsing dishes and cleaning sinks.
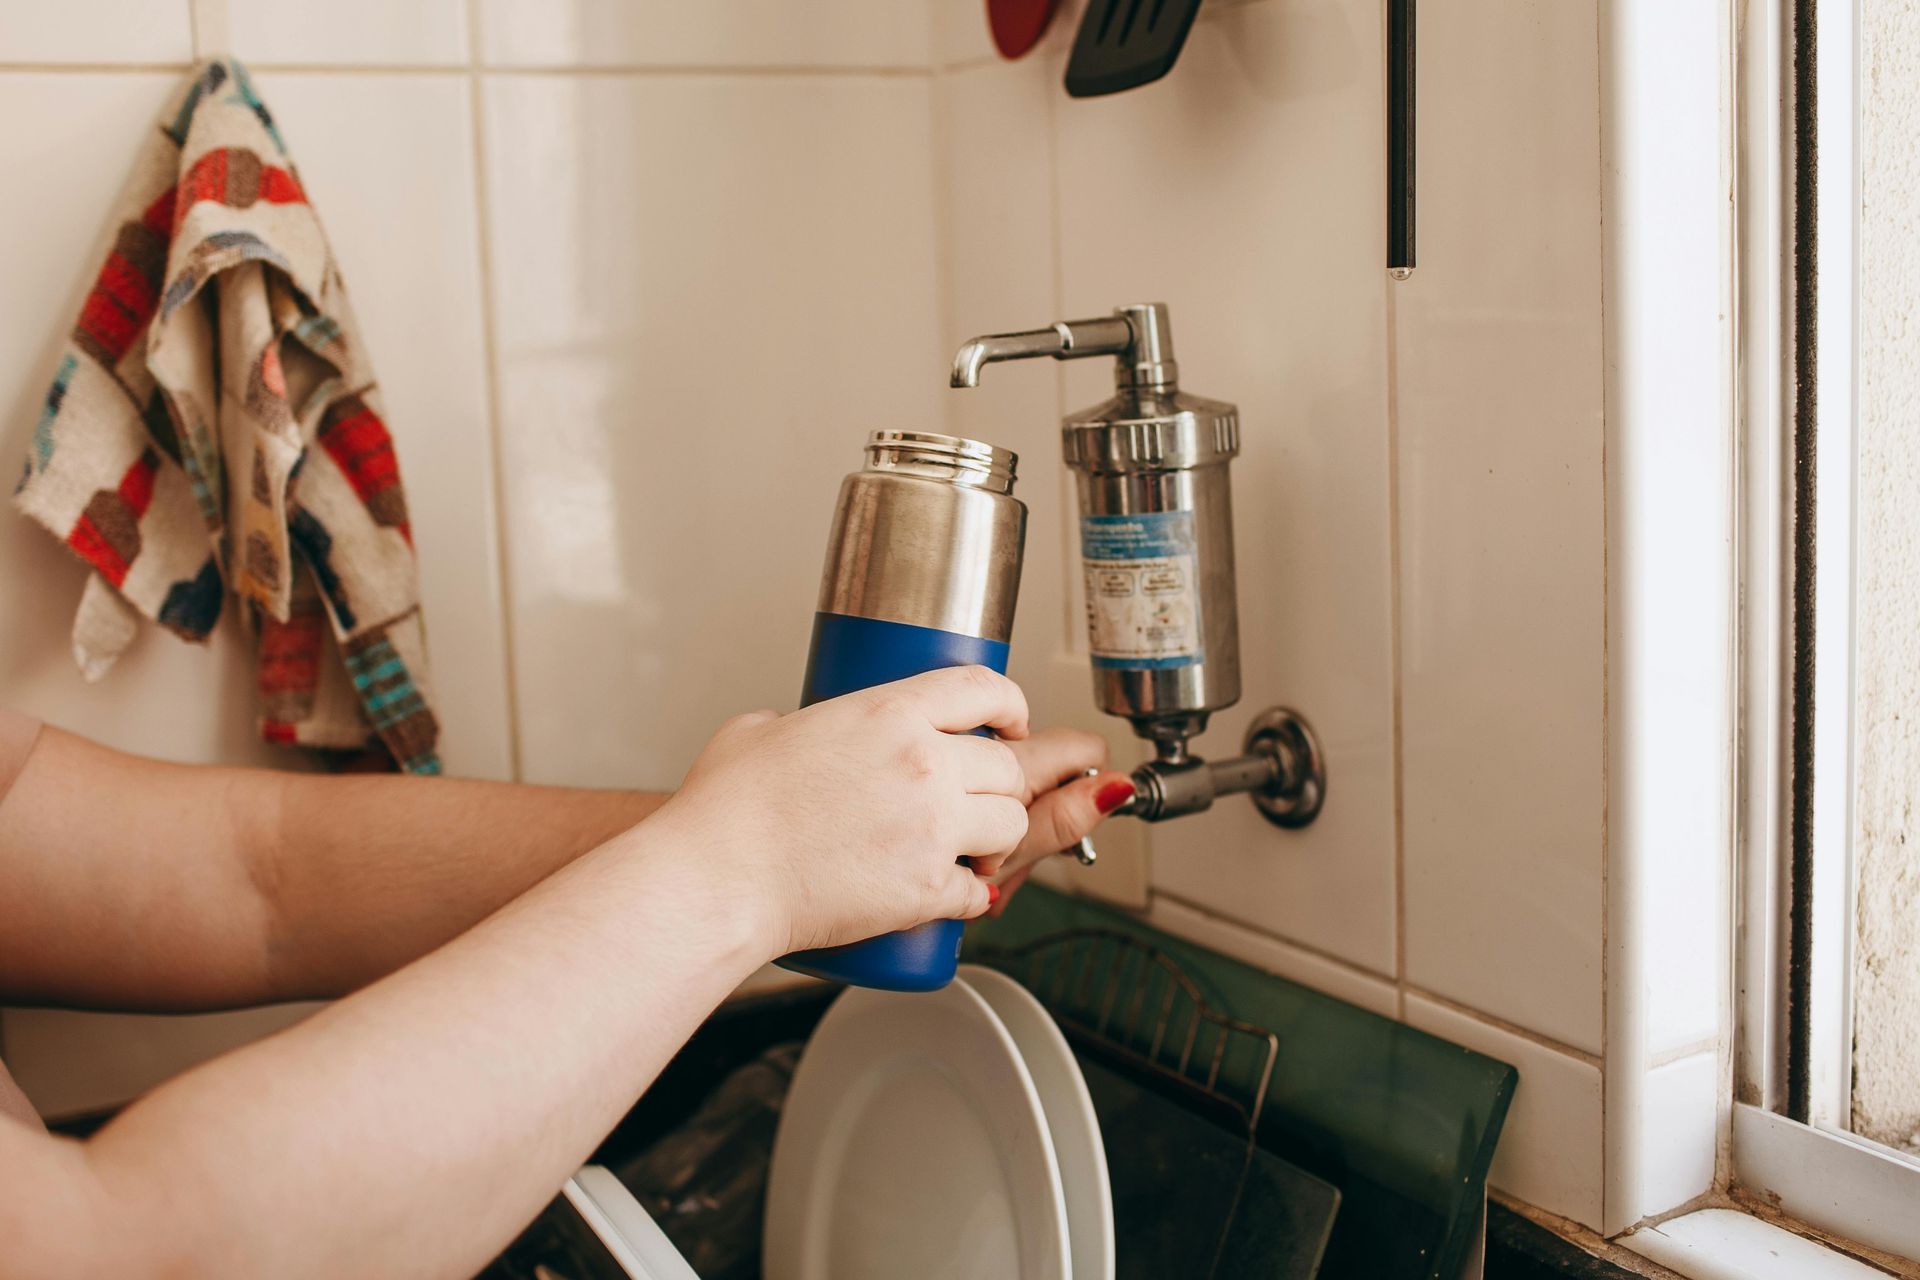
Filtered Water Taps
Many Australian homeowners now install filtered water taps for cleaner drinking water directly from the kitchen sink.
Water Efficient Taps
Modern taps often use less water while still maintaining strong pressure.
Matte Black & Designer Finishes
Contemporary finishes can modernise the look of your kitchen instantly.
How Long Does It Take To Replace A Kitchen Tap?
For a professional plumber, replacing a kitchen tap is usually completed within 1–2 hours depending on:
- Accessibility
- Existing plumbing condition
- Type of tap
- Whether additional plumbing work is required
DIY installations may take longer, particularly if unexpected issues arise.
How Much Does It Cost To Replace A Kitchen Tap?
The total cost depends on:
- The type of tap chosen
- Installation complexity
- Plumbing condition
- Whether new pipework is required
Basic kitchen taps are generally more affordable, while premium designer taps and filtered water systems cost more.
Professional installation helps ensure the tap operates correctly and reduces the risk of future leaks or damage.
Maintaining Your Kitchen Tap
Once your new kitchen tap is installed, regular maintenance can help extend its lifespan.
Simple maintenance tips include:
- Cleaning mineral build-up regularly
- Avoiding harsh chemical cleaners
- Checking for leaks early
- Cleaning aerators periodically
- Replacing worn washers if needed
Proper care can keep your kitchen tap functioning well for many years.
Final Thoughts
Replacing a kitchen tap can improve both the appearance and functionality of your kitchen. While some homeowners attempt DIY installation, the process can sometimes become more complicated than expected due to tight access, plumbing issues, or compatibility problems.
Whether you’re upgrading to a modern mixer tap, installing a filtered water system, or replacing a leaking kitchen tap, proper installation is essential for preventing leaks and ensuring reliable performance.
If you’re unsure about replacing a kitchen tap yourself, working with a licensed plumber can help ensure the job is completed safely, efficiently, and to Australian plumbing standards.
Written by Justin from Celsius Plumbing
Meet Justin, the owner of Celsius Plumbing. With over 15 years of industry experience, Justin combines technical expertise with a commitment to clear communication and reliable service.